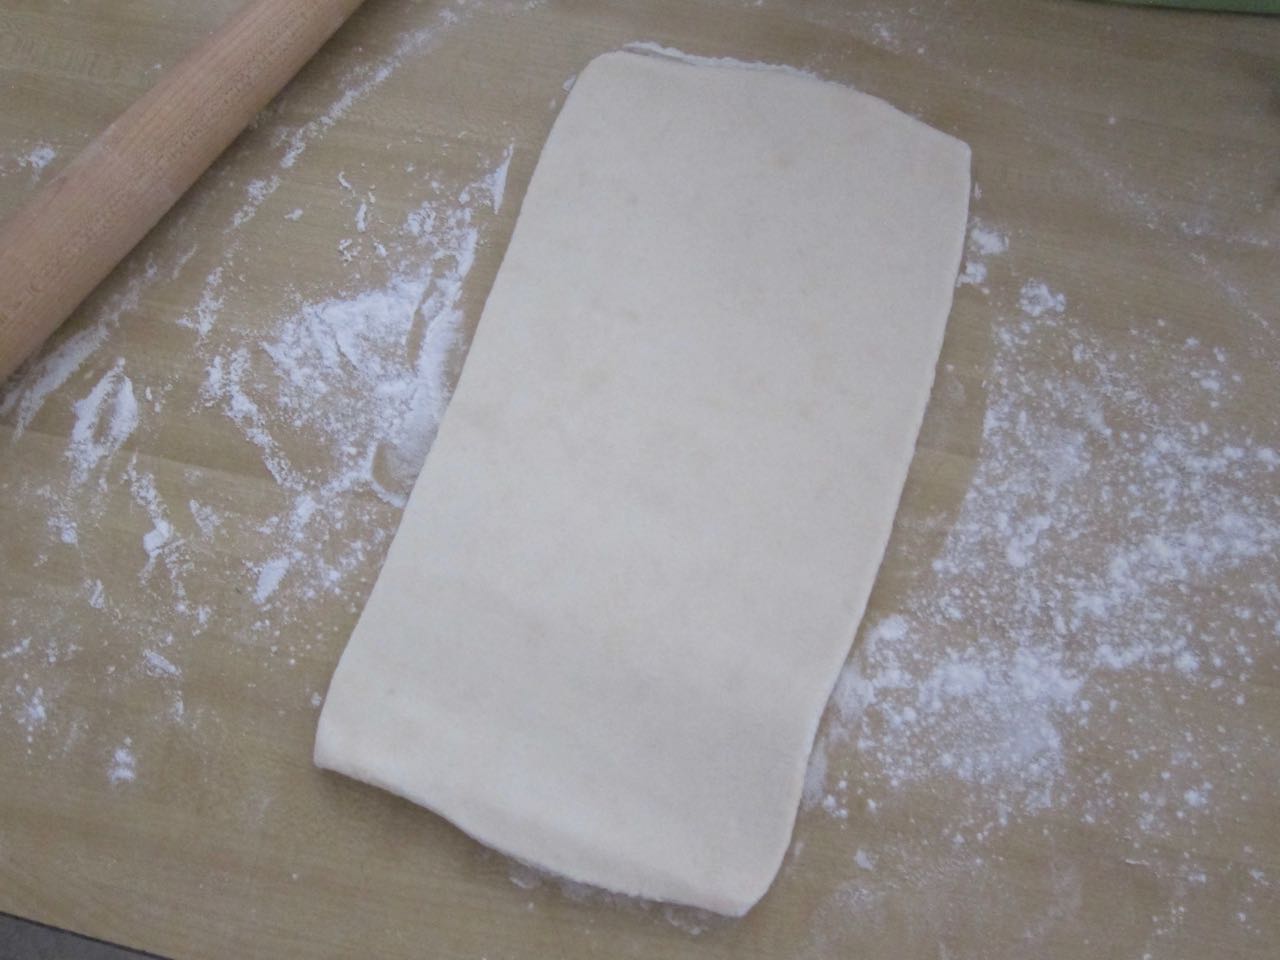
I made puff pastry!
I am so proud of myself. I still can’t believe I really did it, and on the first try!
It was only the second time in my life I tried my hand at any kind of laminated dough. The first time was about 8 years ago when I attempted kouign amman, and while I think I remember the lamination coming out ok, the bake certainly did not go well. There was a lot of smoke and burned sugar involved, and the entire batch went in the trash. Someday I'll have to try that again.
This puff pastry definitely was not destined for the garbage though, and I’m so happy! Once more, with feeling, I MADE PUFF PASTRY!
If you are reading above that I made laminated dough and are imagining a paintbrush and some shellac, it’s ok, because that’s what it always sounds like to me. But really, laminating dough just means making a dough that incorporates a ton of butter into it, in a way that results in layers and layers of flaky pastry. Puff pastry is one example, and croissant dough is another. In puff pastry, the super thin layers of cold butter steam when you bake it, puffing up the dough to its airy heights and giving it a lovely, crispy texture.
Usually, I would just buy puff pastry pre-made, but if you want the really good stuff made with actual butter it is 1) sometimes hard to find and 2) expensive. So I decided now was the time to see if I could handle making it myself, and it turns out, it’s really not all that hard! You just need some really good instructions (this guide from the Kitchn was so handy) and to very carefully follow those instructions.
Be gentle with the dough, let it rest and chill as needed (no rushing), and be patient. This process takes a few hours, minimum, because more turns and chilling sessions mean more flaky layers and higher puffy heights. The active time for this is really limited, though; most of the effort involved is relaxing and doing whatever else you want while the dough just chills out in the refrigerator. So just go about your day, check in with the dough every 30 minutes, and above all, keep it COLD, and you’re golden.
Oh, and did I mention? This will greatly impress your Grandma, should she call while you are in the middle of rolling butter into dough.
So, once you’ve completed the deceptively simple work of crafting puff pastry, what should you do with it?
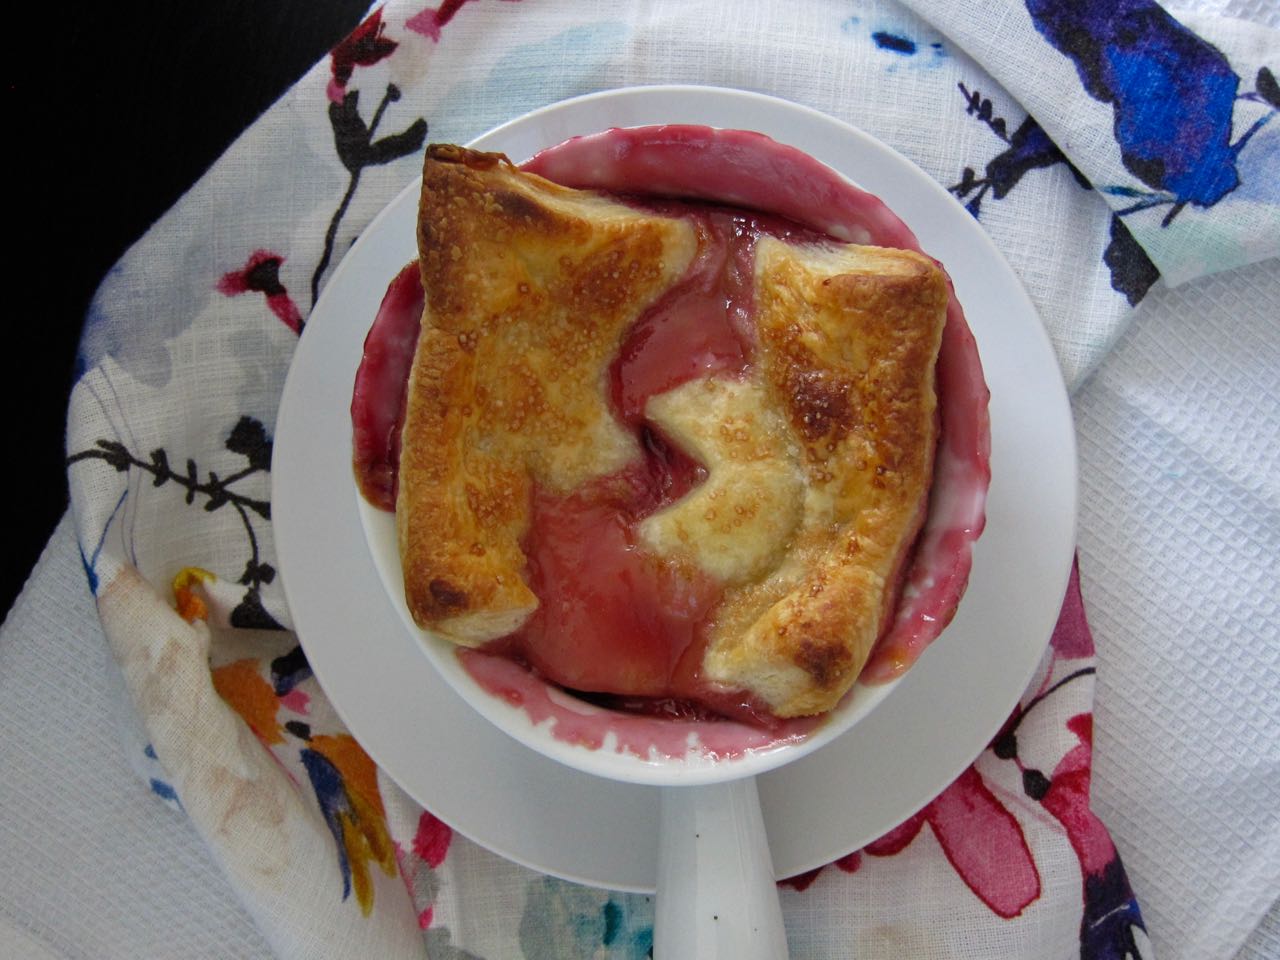
My best suggestion at the moment is to gather all the ripest fruit you can find (for me, that meant a pile of lovely stone fruit like peaches, plums, and cherries) and mix them up with a bit of sugar and flour into the juiciest, summeriest cobbler filling. Bake it down for a bit, then top with your gorgeous pastry and finish baking the whole mess up into a beautiful, bubbling pot pie crowned with puffy layers of achievement. Pat yourself heartily on the back, add ice cream, and dig in. You so earned this.
Stone Fruit Pot Pie
- 1/2 recipe puff pastry (or use store-bought)
- 5 cups mixed stone fruit, sliced for peaches and plums, or pitted and halved for smaller fruits (cherries)
- 1/4 cup sugar
- pinch salt
- 1 1/2 tbs flour
- 1 egg white (optional)
- turbinado sugar (optional)
- Ice cream, for serving
- Make puff pastry if going the homemade route.
- Heat oven to 400 degrees.
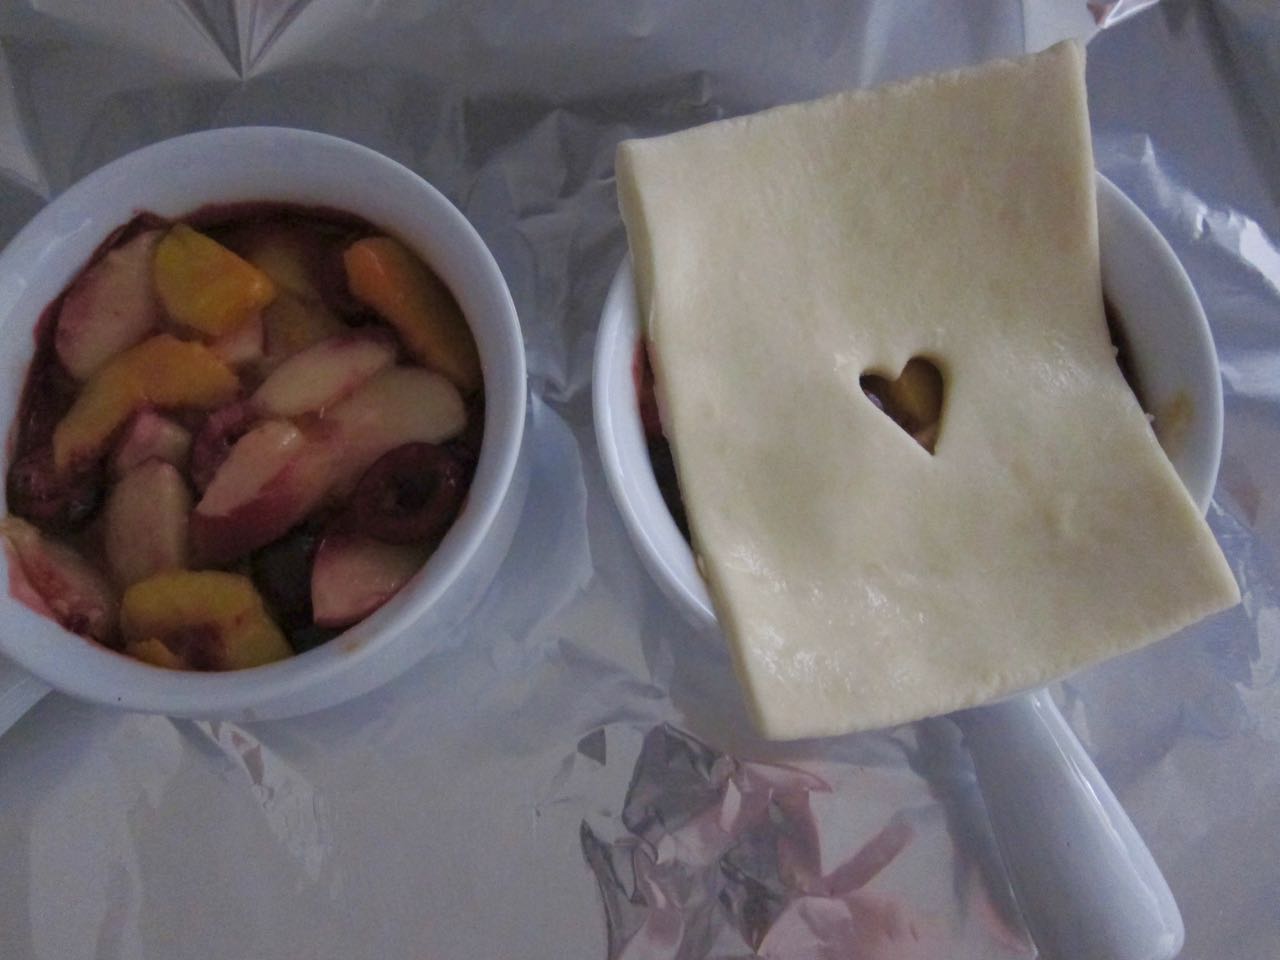
- Roll out the dough, and cut into whatever size you want to cover your baking dish. I cut into 2 rectangles about 6x4 inches. Use a small cookie cutter to cut out a design in the middle, if you want. Lay the cut out dough on a cookie sheet, brush with egg white and sprinkle with turbinado sugar if using (this step isn't necessary but it gives the dough a nice shininess and extra crunch from the sugar), and chill until needed. You want to keep the dough as cold as possible.
- Prepare the filling: Toss the sliced fruit together in a large bowl with the sugar, salt and flour. Spoon into a small baking dish or divide between smaller dishes as I did. Bake the fruit in the dishes for 20 minutes, then remove from the oven. Top with your prepared dough, and immediately put back in the oven to finish baking, about 15 minutes more, until the pastry is puffed and golden and the fruit is bubbling. Let cool a bit and then serve with ice cream, if desired.
Notes:
- Make sure the dough is prepared and chilled before placing on the fruit. If you try to do the egg wash and sugar after laying the dough on top of the dish, the hot fruit will warm up your dough and you will not get a great puff in the oven. Keep it as cold as possible until you need it!
- The size of the baking dish you need will depend on how much filling and dough you have. I call here for 5 cups of fruit and a 1/2 recipe of dough, which yielded me 2 small pot pies about 5x2 inches each, and about 4 servings. If you want to make this in one larger dish, a pie pan would also probably be the right size, though you can always increase the filling amounts if needed.


